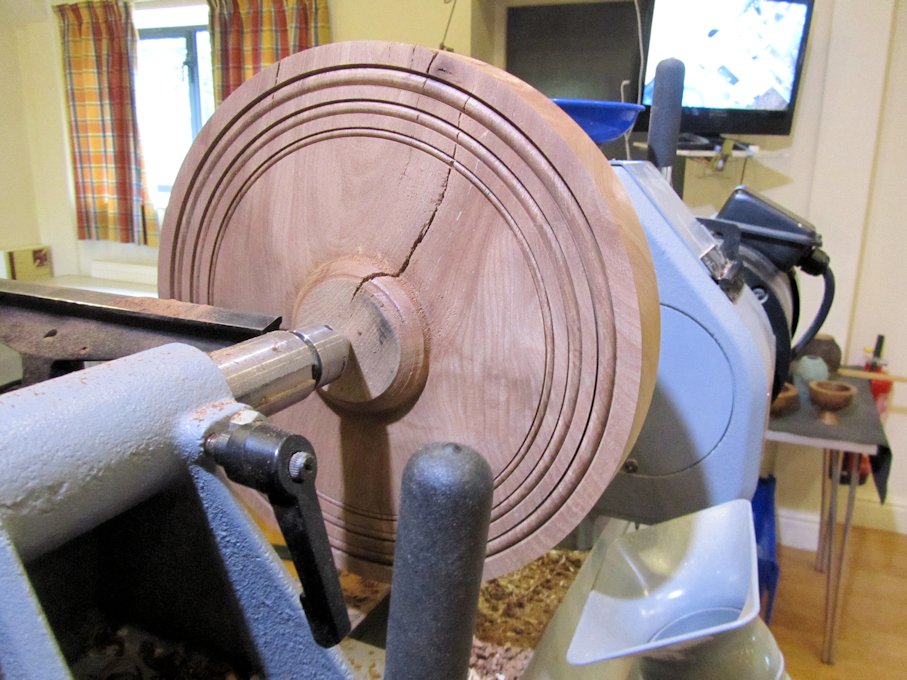
He treated the split in the spigot with super glue before reversing it on to the chuck. He turned a domed centre and then coves and troughs, sanded it all to fine finish. This is important when using wood stains because they will highlight any scratches left on the surface. He used Chestnut spirit stains to colour it followed by a light smear of Chestnut gilt cream.
Another Ed’s tip. If you are worried about knocking your tin of stain or anything over, drop an earth magnet in the tin. Now it sticks to your lathe bed.
There you go. All set to go to war with your new shield.
And so on to item number four. A Sycamore bowl. He mounted the blank between centres and trued it up and turned the back to an ogee shape leaving a chucking spigot. Then he reversed it on to chuck and hollowed it out leaving quite a wide rim. Yep, he’s sanding it here. Once again he achieved a fine finish before going on to colouring.
Fine finish? He told us then when judging in some competitions he uses plus 3 ready read glasses to look for sanding marks. How about a deerstalker hat and a magnifying glass?
For colouring this piece he used Mark Sanger straw stain then stone blue, then burnt orange, then ruby red and then honey. To finish he dabbed white over it before framing it by forming a bead to the inner and outer edges. Last of all, a coat of acrylic lacquer.
For his last piece of the day Ed turned another sycamore bowl and cut a groove in the front face and a recess in the centre. If you go too far with the recess and end up with a hole, turn and fit a disc of wood and fit it in the hole. Turn a small groove round it to prevent the paint you are going to use from going places you don’t want it. To fill this and the recess around the edge he used REBEO paint, available from Hobby Craft shops. he dabbed it on using a wooden stirrer. It is time consuming but the effect is very good.
Ed gets a lot of his colour ideas from studying Monet paintings.
All in all a good day was had by all.
Our next meeting and the last for 2019 will be on Saturday 14th December. It is a club meeting so anything can happen Come along and have a bit of fun.
If anybody would like to make use of yhe club lathe on Saturday, please let me or any committee member know.
With this newsletter you will find your renewal forms for 2020 and once again membership fees have not gone up.
Please be sure to tick the box at the bottom if you want to be included in the club directory. I know some of you filled in the form earlier this year but this is something that will be repeated each year now. I need the forms whether you post your subs to me or pay at the next meeting by cash or card.
Graham
|